I’m asked a lot if I char the surface of my axe handles, have I tried it, do I recommend it, and so on. I’m going to tell you why I don’t, and am not likely to start. We’ll be looking at this problem largely through the lenses of primitive technology, bows and wood failure under tension, so there are some interesting general lessons to be dabbled in.
In spite of the very clickable, emphatic video thumbnail, even though I don’t practice it I don’t have a strong yay or nay opinion on whether anyone does or does not char their axe handles. People do it a lot and seem to get away with it, and it’s not my axe. I’m just sharing why I don’t do it. In searching for Youtube videos in preparation for this segment, I didn’t really see any dissent or contrary views, though I’m sure they must exist somewhere. It has become a popular and seemingly common practice lately.
I think of carbonized wood as compromised wood. Charring wood makes it harder up to a point, but also more brittle. I have done a lot of what is often called primitive technology, essentially stone age living skills. A very fundamental skill in primitive technology is heating and bending wood. Arrow and spear shafts, bows, hoops and other items sometimes need straightening, or curving. Many applications require the heating of dry wood, v.s. steaming the wood or heating green. If someone doesn’t teach you otherwise, you are likely to find out pretty fast, that if you scorch the wood of an arrow shaft, not even black, but just toasted brown, it becomes brittle and is much more likely to break when bent for straightening. It’s easy to do, I’ve done it many times, it’s a thing.
Let’s look at bows, because they are repeatedly put under a great deal of stress, and provide a perfect model of wood under extreme tension. Bows in fact often operate near the edge of failure.
A bow is made flexible enough to bend a lot. In order for the bow to do it’s work, and not break, the wood, and the design, have to be adequately RESILIENT to the stresses a bow comes under. Strength is a bit of a sloppy concept to use when looking at this problem. Strength is an important concept in resilience, but what kind of strength? resisting what forces? and in what context? Resilience is the total ability to withstand stress, though it is still dependent on what type of stress. I’ve discussed the importance of resilience in regard to axe handles in another post.
Some bows are curved back at the ends, which is called recurving. Usually heat is used to make the wood flexible. The heat can be either dry or wet, and often steaming is used. If you were to survey the literature, I’m pretty sure you’d find that if there is a standard recommendation, it is to avoid scorching bows when heating them to bend. Scorched wood is compromised, brittle wood. I think it’s very unlikely that you will find bowyers recommending that you scorch the surface of a bow at any time, and actually just the opposite.
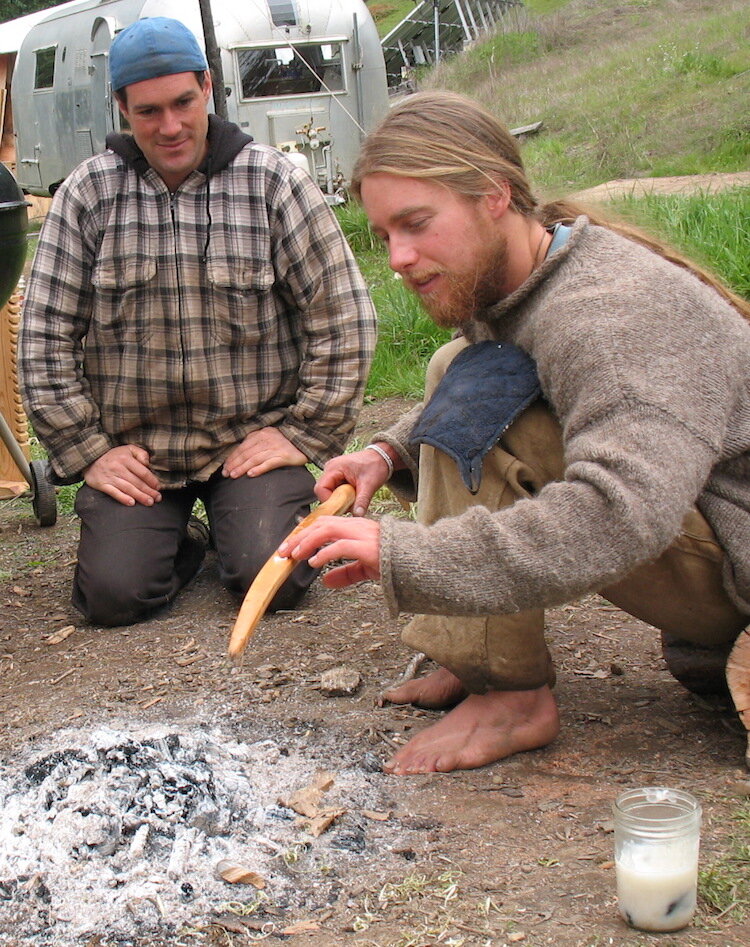
Primitive technologist Jay Sliwa heating and bending a yew wood bow in my front yard. He probably spent over an hour bending both ends of this bow, because it takes time to get the temperature high enough, and also deep enough, without scorching the wood. Hot wood, even dry, will bend more easily. If cooled in the new shape, it will usually stay more or less that way.
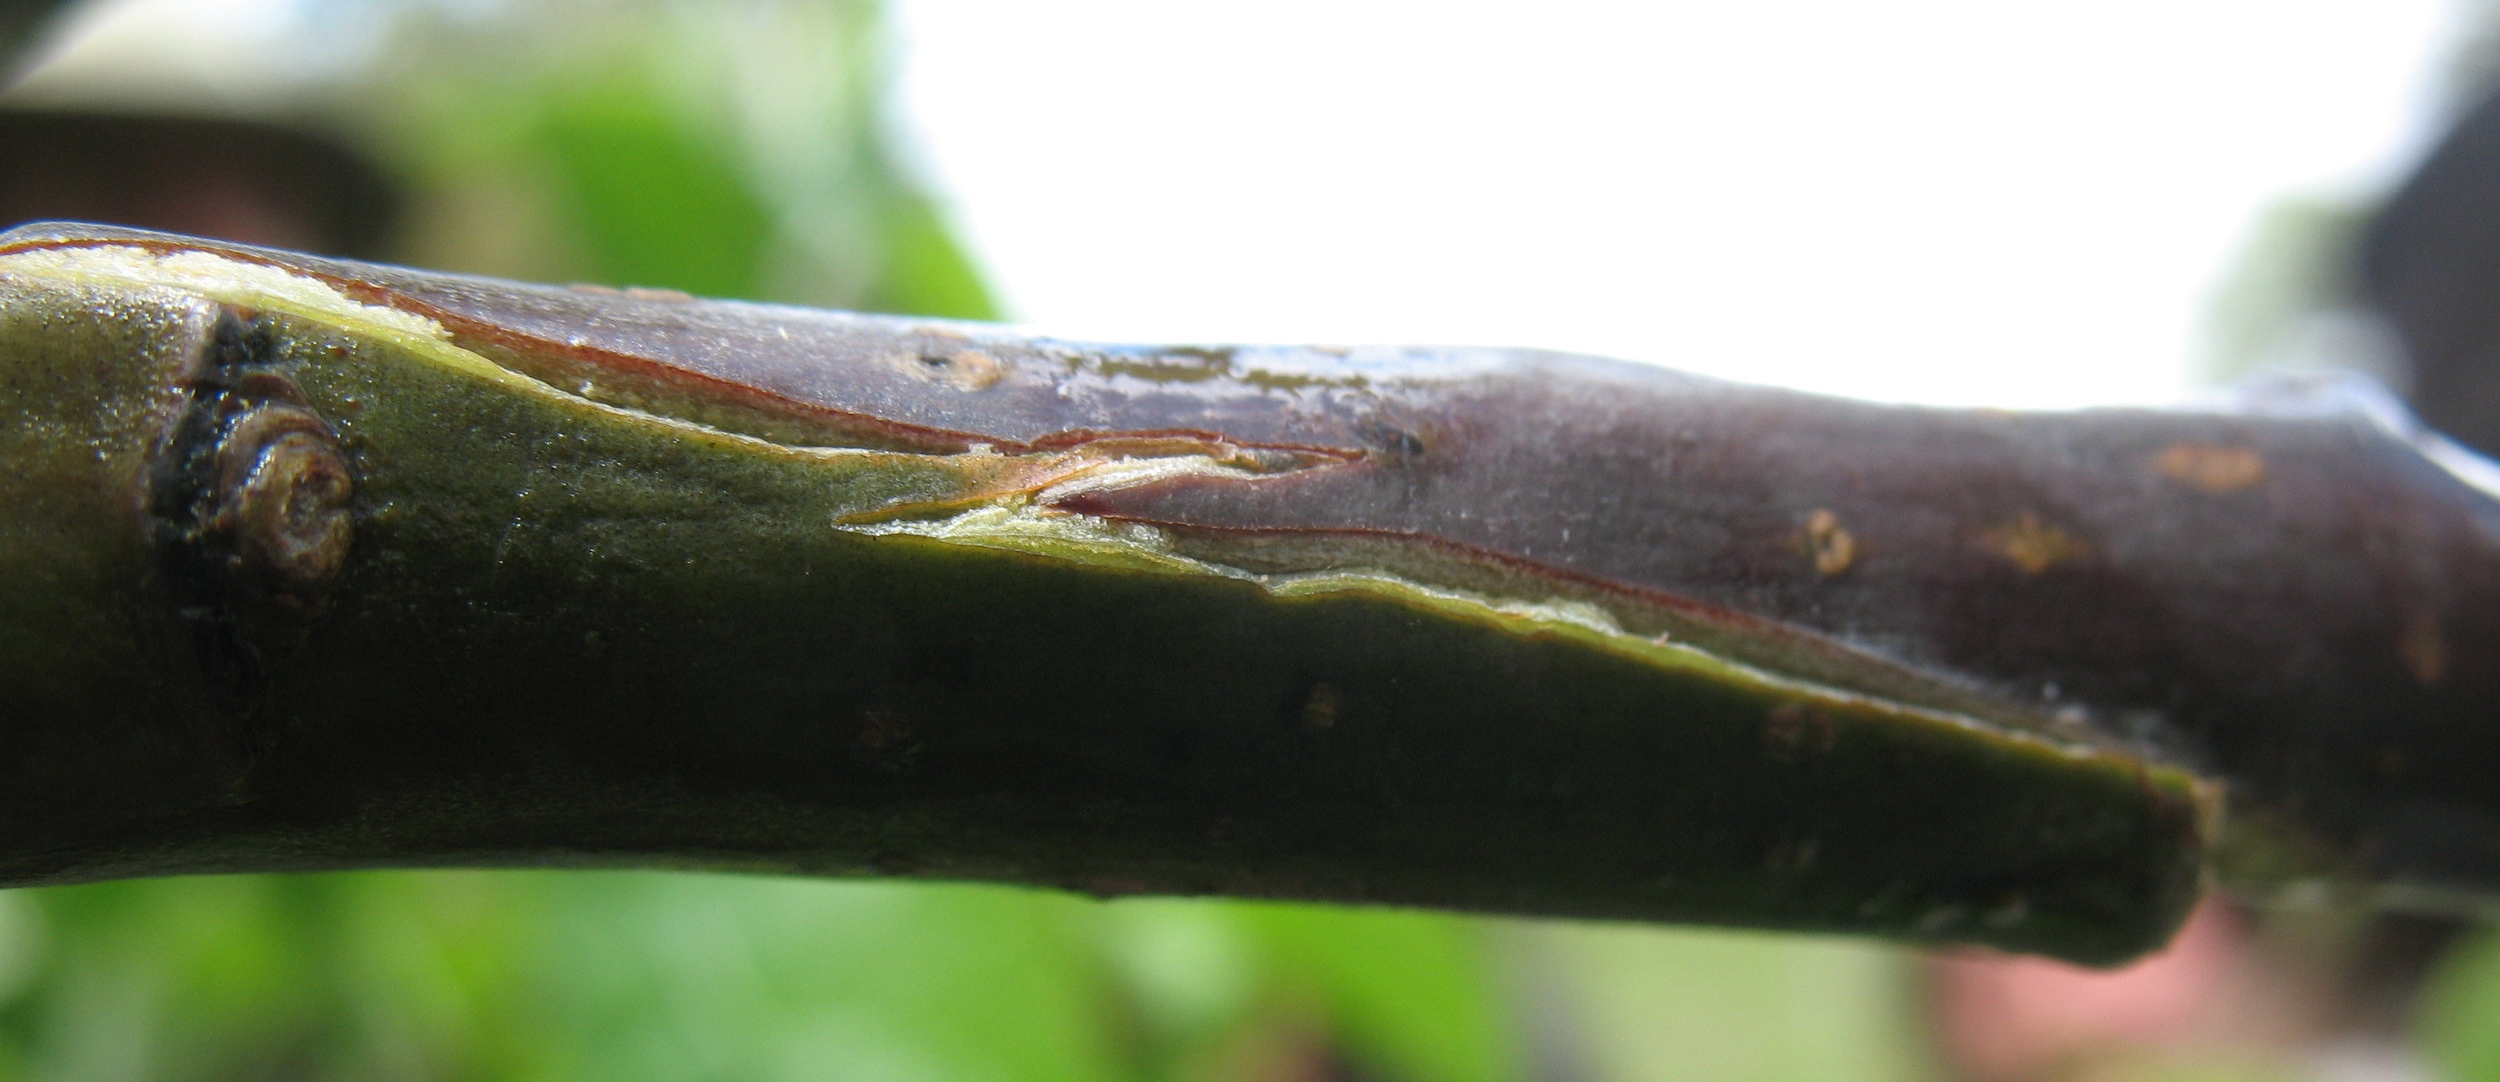
Scorching and burning IS actually used in primitive technology though, to shape and harden wood. The common uses are for burning the ends of sticks to a pointed shape when making spears and digging sticks. This practice changes the character of the wood, making it harder, in order to resist the stresses of things like digging in the dirt, and that is a form of resilience right? A fire hardened digging stick tip is resilient to the stress of hitting dirt and rocks. It is more likely to retain it’s shape and will not dent as easily or wear away as quickly. Resisting the stress of digging is not resilience to bending though, it’s a resilience to impact, to denting and encountering other hard objects like rocks, dirt and animal ribs. These are the stresses encountered by a spear or digging stick point.
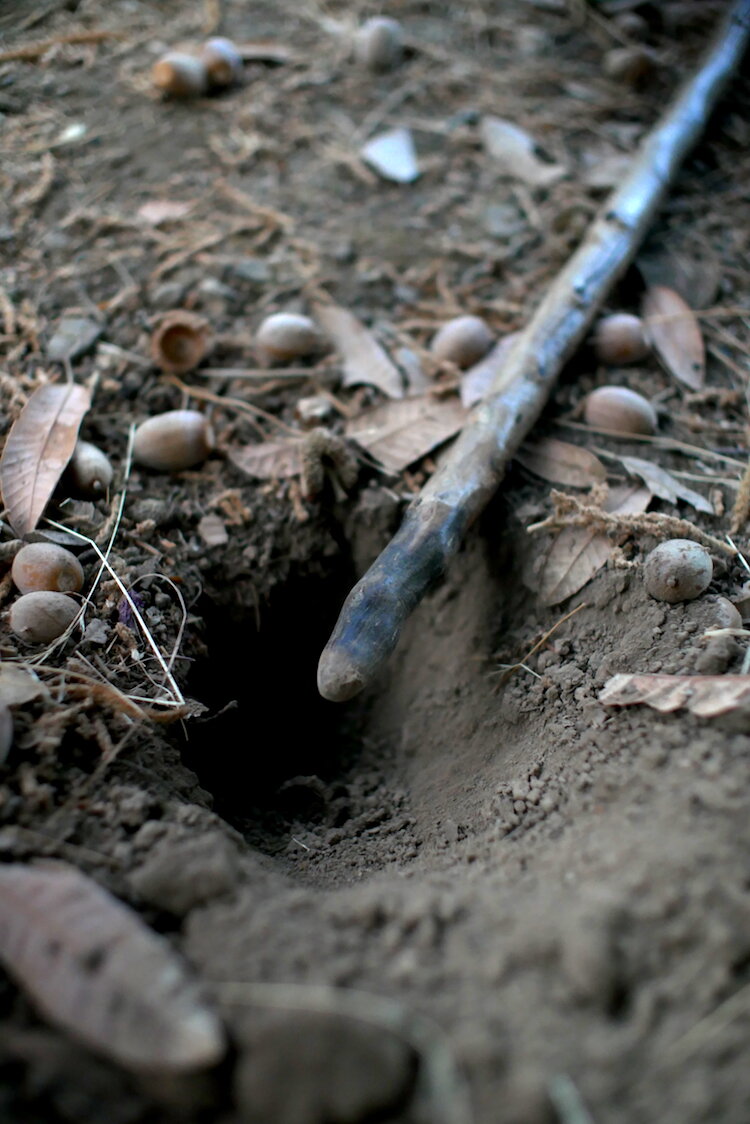
This digging stick tip is shaped and hardened by fire. Great for impact and abrasion resistance, not so much for flexibility.
That begs the question, might charring harden the wood of an axe handle to resist impacts that damage the wood by crushing, such as contacting wood on wood when splitting and limbing? I’m much more inclined to think that charring will increase the likelihood of wood tension failures, than that it will have any significant effect on impact resistance. There is also another solution to that problem, which is wraps, braces and collars.
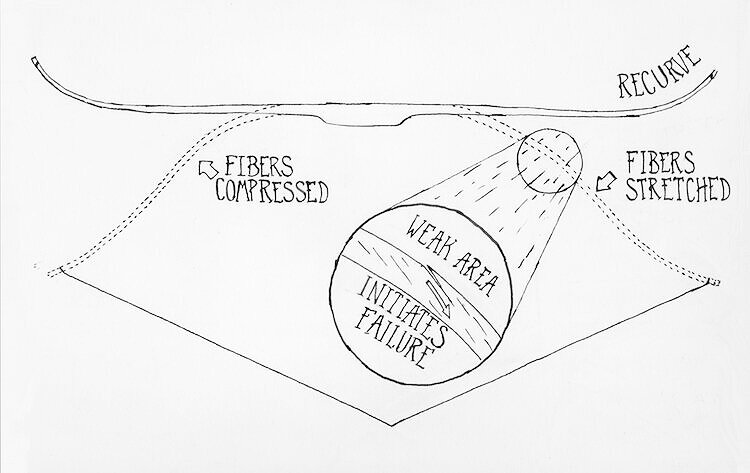
Lets go back to bows again. When the bow is pulled, the part of the bow facing the archer, the belly, is compressed. The belly fibers are smashed together and essentially made shorter if that is possible. The wood fibers on the back are stretched out and put under tension like pulling a thread tight.
I think in both axe handles and bows, breakage is much more likely than not, to initiate at a single point of weakness, in wood that is under tension. As the bow is pulled, tension stress builds and the further toward the outside back of the bow the fibers are, the more they are stretched. The fibers at the very back of the bow are not only stretched the most, but they have also been violated in most cases, by being cut through to shape the limbs. If there is a weak point on or near the surface, the wood will begin to split and separate apart, and that separation may travel causing a crack or a full break.
The inside of a bow is under high compression and the outside (back) is under extreme tension or stretch. If you studied it, I think it’s likely that you’d find failures initiating on the outside back of the bow and traveling inward from there in most, if not all, cases.
If you could study that break in slow motion, I think you would see that the wood doesn’t come apart all at once, but that the crack initiates on the outside of the bend, on the surface, and travels from there toward the inside of the bend. In either a bow or axe handle, that weak spot might be where the grain is violated and runs out more than other spots, or there is a nick, knot or worm hole, or a thick or thin area. A weak point might also be where poor design or execution in building stacks an especially high stress on the wood.
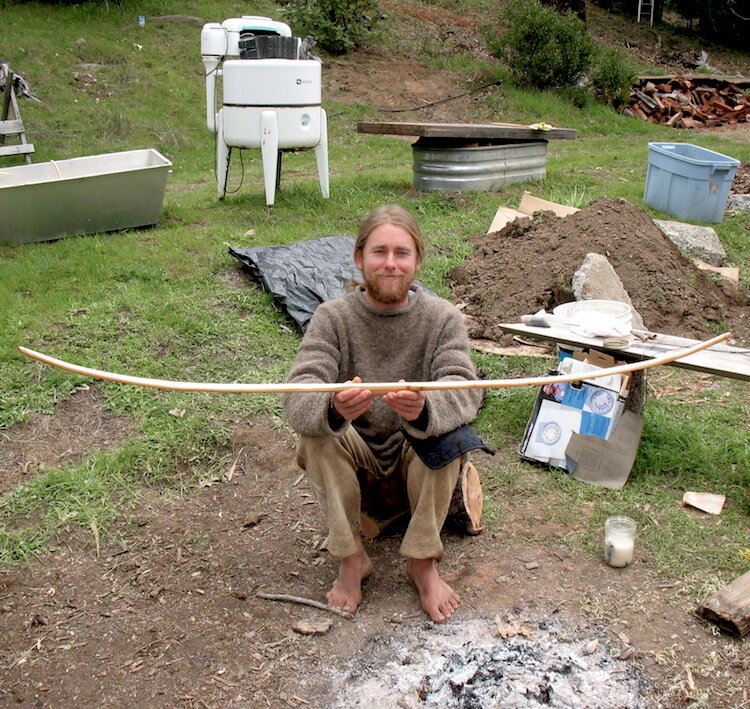
Dry bent, with no scorching. This yew wood is prone to exploding apart when it fails. It is easy to understand why bowyers avoid scorching the backs of bows, where the wood comes under very high tension. Understand that this bow is not strung with this curve, but rather AGAINST this curve. It would be strung and pulled toward the ground in this picture.
Many Native bows in Western North America have sinew (animal tendon) glued onto the backs, similar to a layer of fiberglass. If there is one main reason to glue sinew or rawhide on the back of a bow, it is to keep the bow from breaking. Given the same exact bow, with and without sinew backing, the sinew backed bow is less likely to break. The reason this dried sheet of sinew prevents cracks is that it prevents them from initiating in the surface of the bow’s back in the first place. If the crack can’t initiate and travel because the fibers are held in place and reinforced, then the bow cannot easily fail in the way it is normally most likely to fail. Sinew backing is a very common way, to prevent the breakage of short bows that are under very high stress. In quite a few cases those bows use wood that is actually somewhat brittle and sometimes could not take the stress of being used to make a short powerful bow. The reason I point this effect out is to reinforce the idea that the initiation of cracks in the surface of wood is probably the initiating event in most wood that breaks under tension.
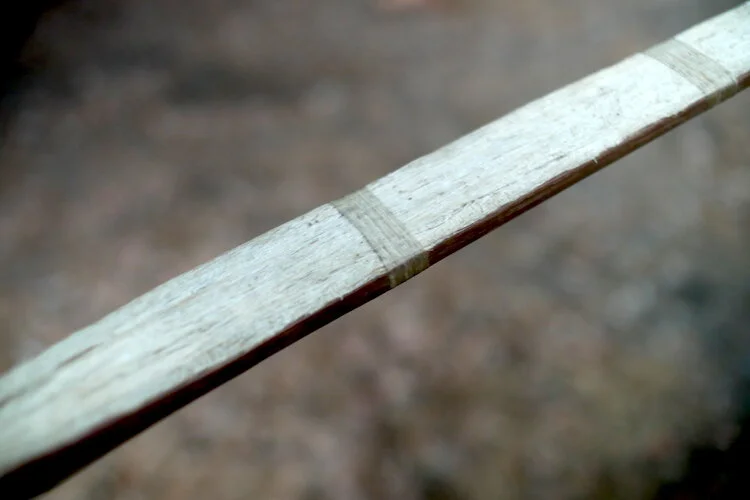
Sinew backed bow limb. Just like a collar or wrapping on an axe handle, sinew backing helps prevent failure, largely by preventing the initiation of cracks.
Axe handles are only somewhat analogous to bows, but they are under some of the same stresses and it is very likely that cracks typically initiate on the part of the wood that is under high tension in any given scenario. Like a bow, it is going to happen more where the wood is under greater stress and where the wood is weak at the surface in those high stress areas. This chink in the armor could be a small knot, a dent or nick in the wood or very likely where the wood grain is cut across at a strong angle. Another common place for cracks to initiate is where growth rings come together, because the wood between rings and between the fast spring growth and the slow summer growth are different, so they behave differently under stress.
So here are my working assumptions about axe handles and charring.
In most cases, failures will initiate at a point of weakness in wood under tension, on the outside surface of the wood, traveling from the point of initial failure.
Charring wood reduces the tensile strength of wood fibers, increasing brittleness under tension, therefore making that failure more likely to occur given the same tensile stress.
It’s important to note that theory v.s. real life is not always an easy pile of yarn to unravel. I may be missing something entirely that I haven’t thought of or have not been exposed to. Our decisions are informed by processing experience and information, and those are limited, as is our intellect. It may be that it is rarely, or even never, an actual problem to char the outside of an axe handle. Personally, knowing what I know and having charred and then broken arrow shafts, atlatl darts and other wood items, I cannot think of any good reason that I would burn the surface of a wooden handle that can come under a great deal of stress; on the contrary, it would seem I have good reason not to. Tests that might shed more light on the subject could be done pretty easily, as long as the sample sizes are large enough to account for wood variations and other unknown factors. But I’m not likely to spend my time at that, since I don’t really actually feel any need to treat handles that way.
The primary motivation for charring handles seems to be aesthetic, such as making the tool look more used or antiqued, or just good. And it is a very nice looking effect. I love charred wood and have practiced it a lot for decades, for reasons and effects I won’t go into here. I just built a whole wall of charred and burnished wood for my Indoor YouTube studio corner! But, you’re not likely to find me weakening the outside layer of an axe handle where failure is most likely to initiate, just for cosmetic purposes.
This video talks about how I do treat my axe handles after they are tuned up how I like them.

Charred and burnished pine used to good effect. This wood is basically under no stress.

Another question I’ve been asked quite a bit is how to make axe handles look used. My sole recommendation for that is to use them. I get it, you don’t want to be the kid with glaring white new shoes. If I were to treat my axe handles to make them look used, I think I would feel like I was the tool. An axe handle patina earned with dirt, sweat, and sap, rubbed to a polish thousands of times with calloused skin is something of an accomplishment and a point of pride. If you want that, pick just one or two axes, and take the axe cordwood challenge.

So, there’s another in depth dive into more relevant, if obscure topics, brought to you by my patrons @ www.patreon.com/skillcult