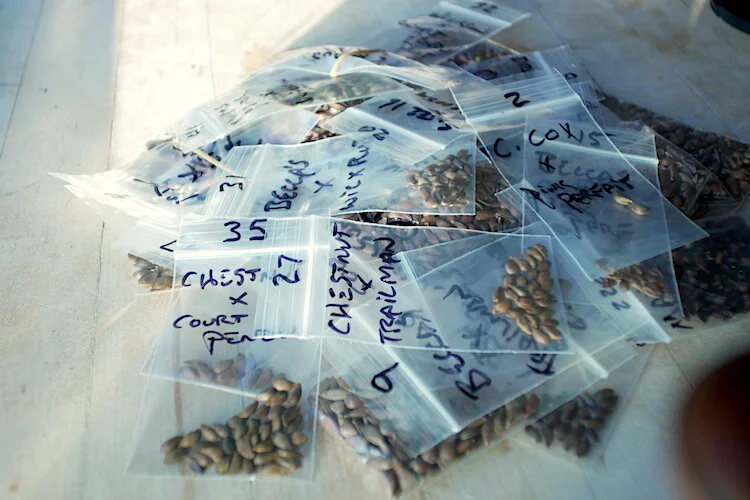
After planting a few open pollinated apple seeds in 2010, I immediately began breeding apples, by making specific, controlled cross pollinations between various parent varieties. In that process, some seeds went unlabelled, mixed up etc. I remember planting some unlabelled seeds outside. I didn’t graft them anywhere, but just left them there in the ground. A year or two later, I remember one winter, selecting the ones with the reddest bark, hoping those would be red fleshed types, and grafting them onto an established tree nearby. The rest were pulled and discarded. Well, 7 years after planting that unlabelled seed, 3 of those fruited and Black Strawberry is one of them.

I now vaguely remember making some cross pollinations with Grenadine and King David? Or losing track of them and planting the seeds anyway? I’m not sure what happened, but I’m about 95% sure that King David is the second parent and it’s likely that I made that cross pollination on purpose, though I did have King David growing nearby enough for it to naturally pollinate Grenadine. This apple has the speckled skin, some of the angular appearance and red flesh traits of Grenadine and the dark, almost black appearing red skin of King David. Unfortunately it also has a tendency to go mealy like Grenadine, but I think it is going to prove to have a better texture in the long run, which is important.
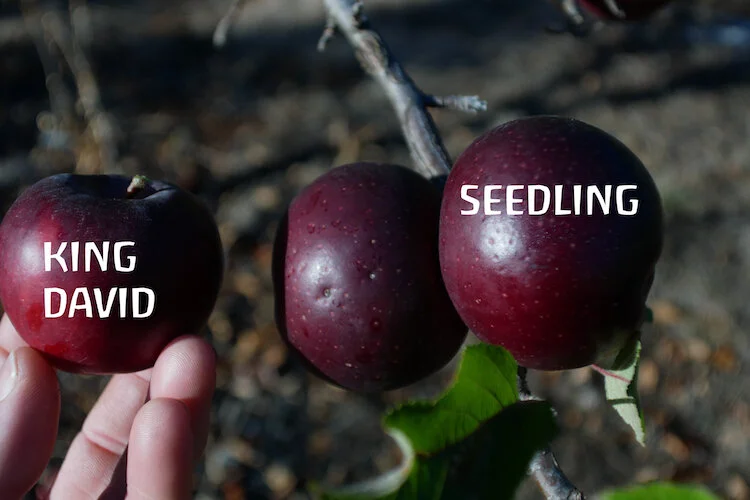
Comparison and similarities of King David and Black Strawberry. Oxford Black looks even more like Black Strawberry, but it was not flowering or fruiting when this seed was collected. Besides, I’m pretty sure now that I actually made crosses with Grenadine X King David that year and just lost track of them.
This apple is not the high quality dessert apple that I’m aiming toward in breeding. So why am I naming it and telling you about it? For one, I’m just excited about it and not inclined to curb my enthusiasm. It’s also so tasty that I’m sure I will be growing and eating it in spite of it’s flaws, and that’s enough to give it a real name. Finally, I will definitely be using it in breeding, talking about it, sharing seeds and pollen and maybe sending out scions. Even if it is only a stepping stone in breeding, why not give it a name? It actually has no number designation. When I grafted them out, I tagged them and wrote funny names on them hoping they would be red fleshed apples, like red scare and tirceratops. Black Strawberry’s tag says Drucilla, after an insane vampire girl in Buffy the Vampire Slayer TV series. which is kind of a cool apple name actually, just not for this one. Besides, I might get sued by someone. I have been inclined to think I would test stuff before naming it and releasing it, but I talk about these seedlings all the time and if I’m going to talk about one a lot, it might as well have a name, even if it’s only a breeding parent or never amounts to much.
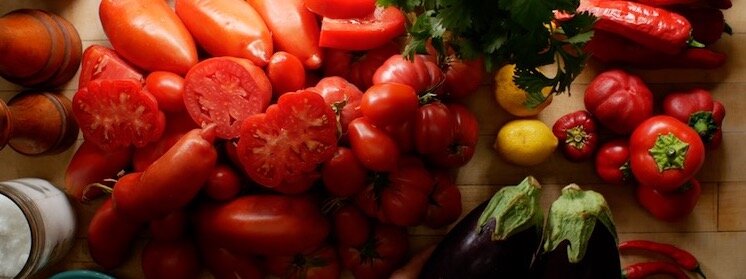
So, lets talk about this apple. FLAVOR! Wow, does this thing have a heaping helping of special flavor saturating it’s mottled pink flesh. The main component is certainly strawberry, although it reminds me more of fake strawberry processed foods like candy, cereal or ice cream than a fresh real strawberry. One taster said “beyond strawberry”. It is definitely one of the most uniquely flavored apples I’ve ever eaten and also one of the best flavored. I had to think back to all the amazing apples I’ve tasted to convince myself that it isn’t the best apple I’ve ever tasted. It is as intensely flavored as Grenadine, if not more and as good, if not better.
Time stamped sections of videos in which I taste this apple:

It inherited Grenadine’s tendency to go dry and mealy, but I think it will be at least a small improvement over that apple when it comes to texture. I bit into at least one that was actually crisp, but it’s going to be a problem.
Scab was pretty bad, but not horrible. It is grafted to a pink parfait tree, which does actually have horrible scab, with very few specimens untouched, but I was able to get quite a few nice apples off of the Black Strawberry branch. It probably rates as 3 or 4 out of 5 for scab susceptibility. It bore a lot, even in it’s first year, so that helped me select the least scabby specimens in thinning.
It did NOT inherit Grenadine’s tendency to turn waxy and drop off the tree before ripening normally. My main grenadine branch had 100% loss to that phenomenon this year. In most years, many grenadine fruits will drop early. It is extremely annoying.
Overall, the fruit is inconsistent in size, shape and texture. Some are pretty large and others are pretty small.
This apple will be more of a stepping stone in breeding on the way to better things, than anyones absolute favorite. But what excites me is that it validates my choice of Grenadine as a parent. I chose grenadine in spite of all of it’s negative traits, for the flesh color intensity and unique complex flavor. Maybe those could be gotten with a different parent with better dessert characteristics, like pink parfait, or Rubaiyat. But, I went with the best flavor/color combo, which was Grenadine. Also, it shows how deep the flavor possiblities are in this red fleshed gene pool, or in Grenadine at least. Grenadine I would never say tastes of strawberries, while this is distinctively so. I’d like to find other strawberry flavored apples to cross with Black Strawberry, the first of which will be Pink Parfait, which has a very subtle strawberry flavor, but it’s there. I also had another seedling fruit this year that had a strawberry flavor. Extremely flavorful and interestingly flavored apples will be coming to our tastebuds in the future. If Black Strawberry can taste this good and rich, others can as well, and even more so. This will definitely get crossed with Sweet 16, Pink Parfait, Wickson, William’s Pride and Golden Russet at least. I already made some crosses this spring.
I’m also encourage by this and a couple of other red flesh x King David crosses and plan to use King David more in breeding red fleshed apples. My original hope was that the dark red skin of King David indicates some genes that would reinforce the red fleshed trait in seedlings. So far 3 out of 3 (red flesh x KD) crosses do show red flesh, one solid through and two pretty strong, but mottled.
I’m sure I’ll have pollen and seeds available in the future, but that depends on how well it blooms and fruits. Scions probably won’t be available for a couple of years and when they do, it will be the usual late winter availability with my Patreon supporters getting first pick.
I hope this one develops into a better version of itself as it continues to fruit. I will be grafting another branch or two out this year, to make sure it survives and so that I’ll have more scion wood should I decide to send it out into the world. And of course so I can eat more of them! I ate several mealy samples down to the core because it tastes so damn good! I’m so excited to keep eating Black Strawberry, seeing how it develops over the next couple of years, and using it as a breeding parent.

Mealy, but delicious!